")
Unlocking NX Assemblies: Your Ultimate Beginner’s Path to Confident 3D Product Build-Ups
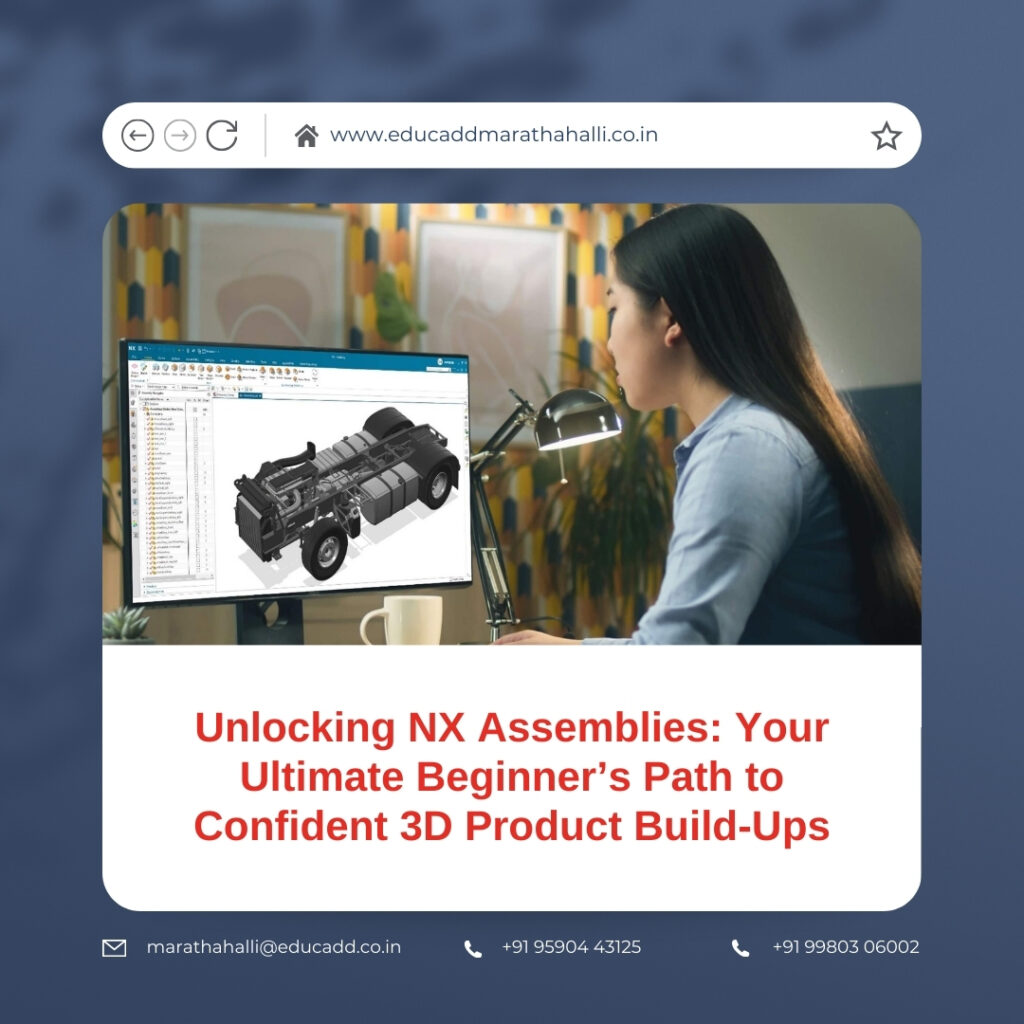
Every great product model begins with a clear assembly structure, and that is why learning NX Assemblies Beginner Guide is such an important skill for beginners. Siemens NX offers a powerful, flexible environment that helps you connect components, validate mechanisms, and coordinate an entire design without confusion. Even though new users often feel overwhelmed when they see the assembly interface for the first time, the workflow becomes easy once you understand the essential tools and methods.
NX Assemblies Beginner Guide
This guide walks you through the entire journey from the basics to advanced controls. You will learn how assemblies work, how to position parts, how to manage complex structures, and how to prepare your model for real engineering tasks. With these steps, you will gain complete confidence as you begin building assemblies in NX.
1. The Core Principles Behind NX Assembly Modeling
Building assemblies in NX starts with understanding how the software organizes your design. NX uses a structured hierarchy that begins with a master assembly file. This file links to subassemblies and individual components. Each part acts as a building block, and NX brings all these blocks together through constraints and relationships. When you use this system correctly, you gain strong control over your design.
Beginners usually start with the bottom-up modeling approach. In this method, you create separate parts first and then combine them into an assembly. This approach keeps things simple and allows you to focus on one component at a time. As you grow more comfortable, you can explore the top-down method. In top-down design, you build parts inside the assembly itself, which is useful for products that need shared references and tight design coordination.
The Role of the Assembly Navigator
The assembly navigator is one of your most important tools. It shows every component, constraint, pattern, group, and feature used in the assembly. It also highlights any issues you must fix. When you modify a part, NX updates the assembly instantly as long as the relationships remain valid.
Understanding Absolute Positioning
Absolute positioning places a part using the global coordinate system. Many beginners struggle with this concept because they expect the part to align automatically. However, NX gives you freedom from the start. You can place a part anywhere and control it later with constraints.
Key Tools That Support Assembly Structure
-
Reference Sets: Display only selected geometry.
-
Layers: Organize the model visually.
-
Lightweight Mode: Improves performance for large assemblies.
-
Inter-part links: Maintain stable relationships across components.
Once you understand these basics, your journey toward building assemblies in NX becomes smoother and more structured.
2. Bringing Components into Your Assembly with Precision
After understanding the structure, the real work begins—placing components. This step defines how your entire product fits together. NX provides several methods, each designed for different levels of accuracy and complexity.
Adding Components
Start by opening your main assembly and selecting Add Component. You can choose an existing part or a template. Once added, the part appears in the assembly window. Now you can either manually position it or use constraints.
Direct positioning works when accuracy is not the primary concern. You simply drag the part using move handles. However, constraint-based positioning is the industry standard because it creates reliable relationships.
Essential Assembly Constraints
-
Mate Constraint
Joins two faces or surfaces so they stay in contact. You use it whenever two components must touch. -
Align Constraint
Aligns edges, axes, and planes. It ensures consistent direction and orientation. -
Center Constraint
Centers a cylindrical or circular feature. Ideal for shafts, pins, bearings, and hole alignments. -
Angle Constraint
Sets a specific angle between surfaces. -
Distance Constraint
Defines the space between two faces, edges, or features.
Constraint previews help you understand the final result before applying them. This visual feedback reduces errors and speeds up the process.
Working with Arrangements
NX lets you create alternate states of the same assembly, such as open or closed positions. Arrangements are perfect for demonstrating mechanisms or multi-stage movement.
Repositioning and Re-orienting
If your part needs adjustments, you can edit or remove constraints in the assembly navigator. This flexibility ensures that you always maintain full control.
These steps form the backbone of building assemblies in NX. With practice, the process becomes fast, accurate, and intuitive.
3. Managing Complex and Large Assemblies Without Losing Control
As your assemblies grow, controlling them becomes essential. Large projects often include hundreds or even thousands of components. If they are not organized correctly, performance drops, and errors become difficult to track. NX provides several powerful tools that help you manage everything smoothly.
Using Reference Sets
Reference Sets let you choose how much of a part’s geometry you want to display. For instance:
-
Model: Shows the full component.
-
Empty: Hides everything.
-
Custom sets: Show only what you need for specific tasks.
This reduces screen clutter and improves performance.
Lightweight Component Display
NX can display simplified versions of heavy parts. This feature keeps your system running smoothly while you work on complex assemblies. You can switch back to full geometry when needed.
Creating Component Groups
Groups let you collect parts that belong to the same functional section. For example:
-
All fasteners
-
All electrical housings
-
All structural brackets
Groups make navigation easier and speed up your workflow when editing.
Interference and Clearance Checking
Interference checking detects overlapping components. Clearance analysis ensures proper spacing for moving objects. Both tools are essential before finalizing the assembly because they help prevent manufacturing errors.
Version Control and Component Replacement
NX manages updates efficiently. When you replace a component, NX keeps constraints intact as long as the references remain consistent. This reduces rework and supports multi-designer environments.
When you rely on these tools, you gain the ability to handle large assemblies with precision and confidence.
4. Enhancing Assemblies with Features, Patterns, Motion, and Visualization
Once you understand basic placement and management, you can explore advanced tools that make your assembly more powerful and informative. These tools transform your model into a functional, well-documented, and realistic system.
Assembly-Level Features
Assembly features let you modify several components at once. They affect only the assembly and do not change the original part files. Examples include:
-
Cuts
-
Pockets
-
Holes
-
Chamfers
These features save time when multiple parts require identical adjustments.
Component Patterns
Patterns duplicate a component along a defined path. NX supports:
-
Circular patterns
-
Rectangular patterns
-
Path-based patterns
For example, if you need a flange with eight bolts, create one bolt and pattern it around the circle. NX maintains every constraint in the pattern.
Exploded Views
Exploded views visually separate components to show assembly order. They are ideal for:
-
User manuals
-
Presentation slides
-
Maintenance documents
Each explosion step can be controlled and animated.
Basic Motion Simulation
NX also includes tools to simulate movement. You can define joints, rotational limits, and sliding paths. Motion simulation helps you confirm that parts move correctly without clashes.
Expressions and Parametric Controls
Expressions link dimensions and positions to formulas. Updating one value updates everything connected to it. This method increases consistency and reduces manual corrections.
These features elevate your assembly from a simple structure to a dynamic engineering model.
5. Best Practices to Build Accurate, Stable, and Clean NX Assemblies
The final step toward mastering NX Assemblies Beginner Guide is learning best practices that prevent errors and improve modeling quality. These habits ensure that your assemblies remain stable and scalable.
Use Consistent Naming Conventions
Clear filenames, feature names, and constraint labels help you navigate faster. They also support teamwork and long-term project maintenance.
Avoid Over-Constraining
Too many constraints slow down the model and cause conflicts. Only apply the constraints necessary to define the component’s position.
Use Subassemblies
Subassemblies divide large projects into manageable sections. This structure isolates complexity and improves efficiency.
Check Interferences Frequently
Regular interference checks catch mistakes early. Fixing issues at the end of the project can be time-consuming and expensive.
Document Your Assembly
Use notes, comments, color coding, and organized folders. This documentation helps future designers understand your logic, even months later.
Keep Geometry Clean
Remove unused features, suppress unnecessary components, and simplify heavy models whenever possible. Clean geometry improves performance and reduces file size.
When you follow these best practices, your assemblies remain stable, accurate, and professional.
Conclusion
Mastering NX Assemblies Beginner Guide opens the door to precise and efficient product development. Although the assembly environment can seem complex at first, each tool becomes easier once you understand its purpose. By learning how to place components, apply constraints, manage large structures, and use advanced features, you gain complete control over your design. NX gives you everything you need to build accurate, dynamic, and functional assemblies that match real engineering demands. With consistent practice and organized methods, you will create assemblies that are clear, stable, and ready for manufacturing. This skill not only improves your design quality but also strengthens your overall engineering workflow.

