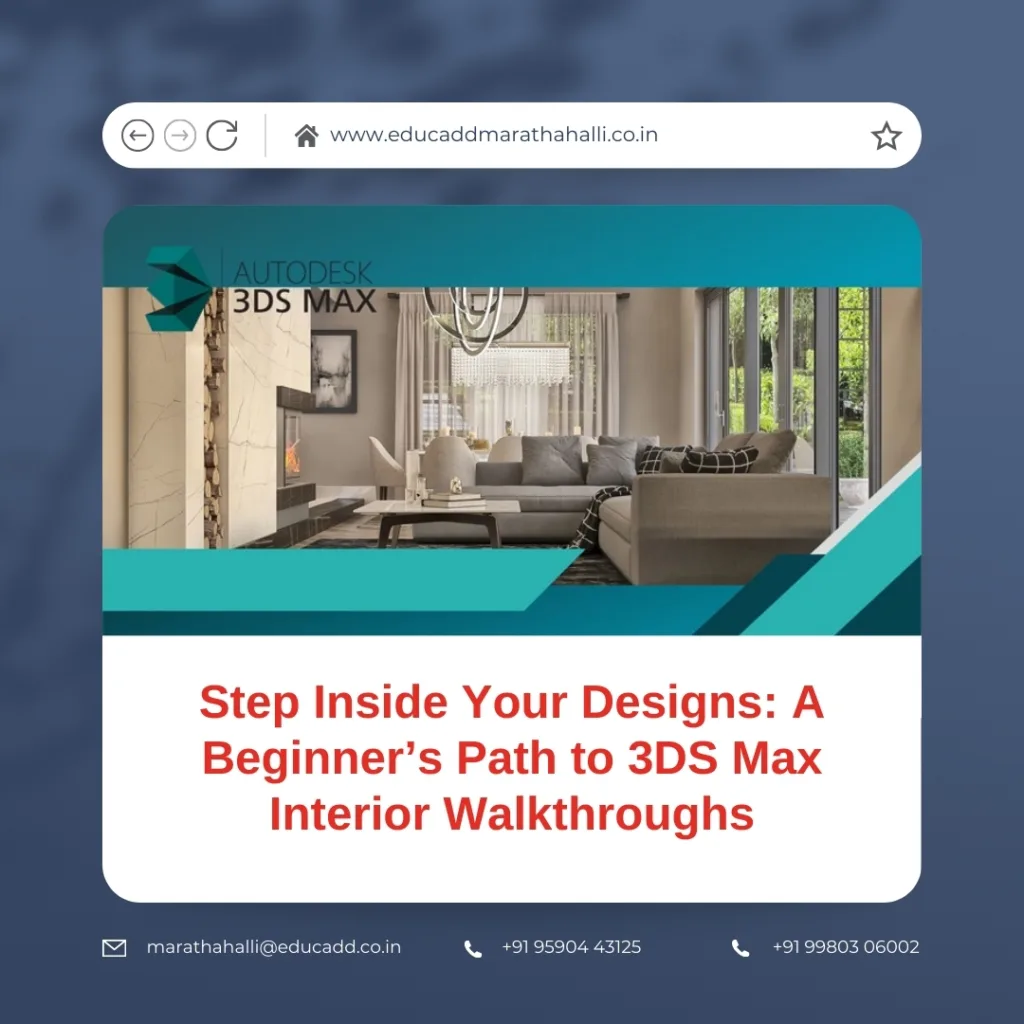
Step Inside Your Designs: A Beginner’s Path to 3DS Max Interior Walkthroughs
Imagine being able to walk through your dream interior before a single wall is built. That’s the magic of 3DS Max for interior walkthroughs. This powerful 3D modeling and animation software lets you create lifelike tours of spaces, helping clients, teams, and even you visualize a design as if it already exists.

3DS Max Interior Walkthroughs
This beginner’s guide takes you from opening the software to rendering a smooth, realistic walkthrough. You’ll explore essential steps — from project setup to animation — with practical tips that make learning faster and more enjoyable. Whether you’re an aspiring architect, interior design student, or creative hobbyist, this guide will help you bring ideas to life in 3D.
1. Why 3DS Max is Perfect for Interior Walkthroughs
3DS Max has been a go-to tool in architectural visualization for decades. Its ability to combine precise modeling, detailed texturing, and advanced lighting makes it ideal for interior walkthrough creation.
Unlike a still render, a walkthrough offers a dynamic experience. Viewers can see the layout, materials, and lighting in motion, which is far more engaging and convincing. This makes walkthroughs valuable for design presentations, client pitches, and even marketing campaigns.
The flexibility of 3DS Max for interior walkthroughs is unmatched. You can start with simple shapes and build complex interiors, import CAD drawings for accuracy, and use powerful rendering engines like V-Ray or Corona to add photorealism. It’s not just about showing a space; it’s about letting someone feel like they’re in it.
2. Setting Up Your First Walkthrough Project
A well-prepared project runs smoother from start to finish. Before modeling, it’s worth taking a few minutes to set up everything correctly.
Importing a Base Plan
If you have an AutoCAD or SketchUp floor plan, import it directly into 3DS Max. Match the units to avoid scale errors. A properly scaled base plan ensures that every object — from doors to sofas — fits naturally in the scene.
Choosing the Right Units
Go to Customize > Units Setup to choose metric or imperial measurements. Consistency here is key; mixing units can lead to frustrating misalignments later.
Organizing with Layers
Create layers for structural elements, furniture, lights, and decorative items. This simple organization trick helps you work faster and keep complex scenes manageable.
3. Modeling Your Interior Space
Now comes the fun part — turning a flat plan into a 3D environment.
Building Structural Elements
Trace walls over your imported plan using the Line tool, then extrude them to the correct height. Floors and ceilings can be created with flat planes, given realistic textures later.
Furnishing the Space
For beginners, downloading pre-made furniture models from trusted libraries saves time. However, learning to model your own pieces in 3DS Max gives you more creative control. Always check that each object’s scale matches the rest of the scene.
Adding Detail for Realism
Elements like baseboards, light fittings, and window frames may seem small, but they add depth and believability. Walkthroughs are about immersion, and details pull viewers deeper into the design.
Keeping It Efficient
A high-polygon model looks great, but it can slow down animations. Optimize heavy models or replace them with low-poly versions for smoother performance.
4. Texturing and Lighting Your Scene
Lighting and materials give your interior its personality. Without them, even the most detailed model can feel flat.
Texturing with Precision
Use high-quality textures for floors, walls, and fabrics. Adjust reflection, bump, and gloss maps to create surfaces that respond realistically to light. If a texture stretches or looks odd, fix it with UVW mapping for proper alignment.
Lighting for Mood
Daylight systems in 3DS Max replicate real-world sun and sky conditions, perfect for spaces with large windows. For evening or windowless rooms, use photometric lights to mimic actual fixtures.
Balancing Shadows and Highlights
Too much shadow can make a room look dark and unwelcoming. Use fill lights to soften shadows and bring out more detail in the space. Test renders help you see how light interacts with textures before committing to long renders.
5. Animating and Rendering the Walkthrough
With your space built and lit, it’s time to guide the viewer through it.
Creating the Camera Path
Draw a spline representing the desired route through the interior. Position a camera on it, then adjust the view angle to show just enough of the room without distortion.
Smoothing the Movement
A jerky camera can ruin immersion. Add keyframes to control pace and direction, and use easing functions for gradual starts and stops. Keep motion natural, as if a person were walking through the space.
Rendering for the Best Results
Choose a rendering engine based on your needs and hardware. V-Ray and Arnold both deliver excellent realism, though render times vary. For presentations, 1920×1080 resolution works well, while 4K is ideal for high-end displays.
Post-Processing Magic
After rendering, import the video into software like After Effects to tweak brightness, contrast, and colors. You can even add background music or on-screen text to enhance the storytelling.
Final Words: Your First Walkthrough, But Not Your Last
Learning 3DS Max for interior walkthroughs takes patience, but every project teaches you something new. Start small, experiment with different camera paths, and refine your lighting skills. Over time, your walkthroughs will not only look better but also convey your design intent more clearly.
Remember, an interior walkthrough is more than a technical render — it’s a visual journey. You’re guiding someone through a space that doesn’t exist yet, letting them experience it as though it does. That combination of creativity and precision is what makes this skill so rewarding.
